How to Make Snowball Cookies

hi-guys

So I’m not going to lie, I’ve been wanting to share this recipe with you guys for months but have been patiently waiting for it to be socially acceptable to post Christmas recipes (which according to my mother would be the 1st of August)! Anyways, now that I’ve heard every single Christmas song ever written being played about a hundred times over in the last week, I figured it’s a perfectly acceptable time for making snowball cookies.

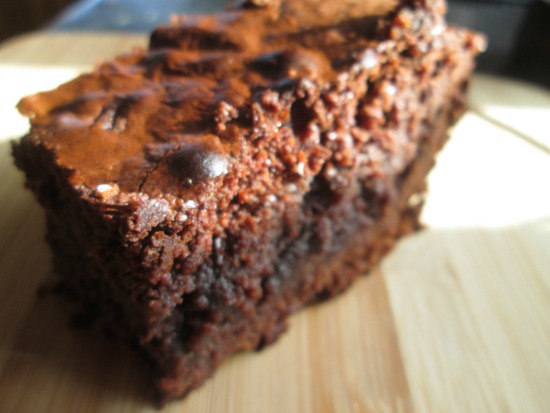
Personally, there’s nothing I love more on a cold winter’s day (or any day, really – weather’s pretty irrelevant) than to snuggle up in bed, briefly consider the possibility of being productive and ultimately end up just eating cookies for a couple of hours. And what with Christmas break coming up, I thought I’d spread some Christmas cheer and encourage you all to do the same 🙂 – because I’m such a great influence. And trust me, these little icing-covered, melt-in-your-mouth balls of deliciousness make the perfect snack to share with your family (or enjoy by yourself – I don’t judge) over the holidays!

I hope you get a chance to try them out over the weekend – if you do, make sure to let me know in the comments below!

ingredients

snowball-mexican-cookies-12

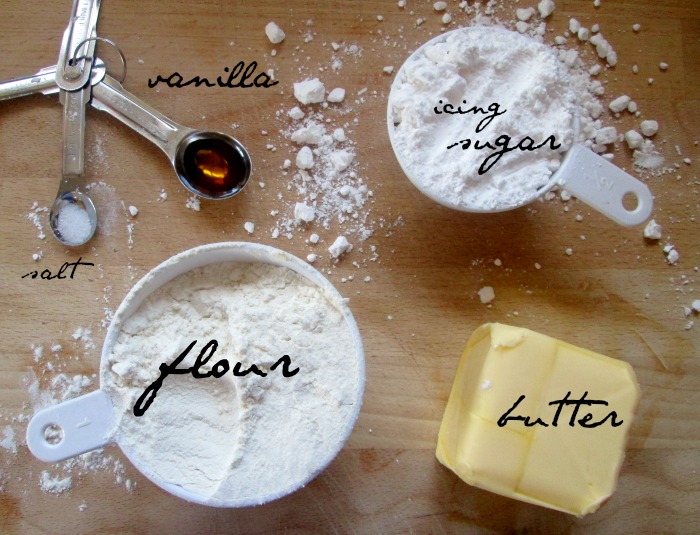
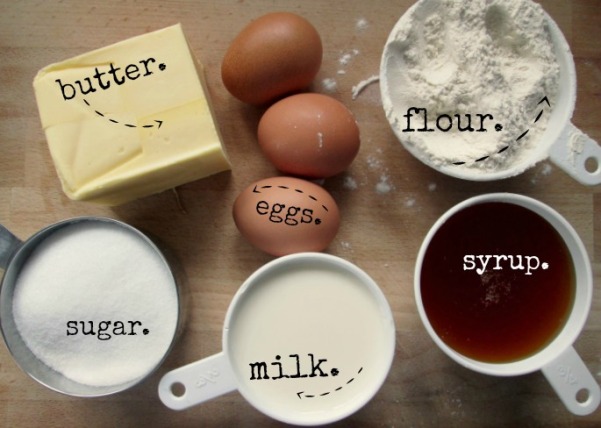
1 cup butter, softened
1/2 cup icing / powdered sugar
1 teaspoon vanilla
2 1/4 cups plain flour
1/4 teaspoon salt
plus additional icing sugar for rolling

method

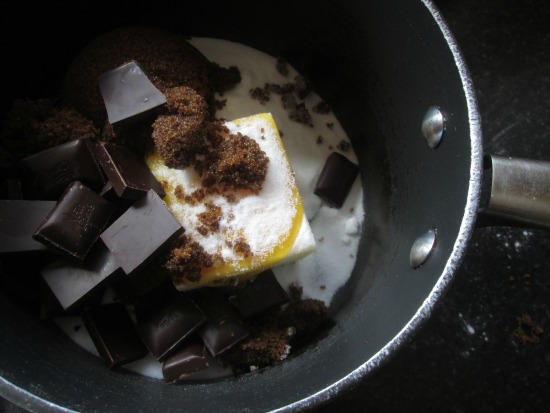
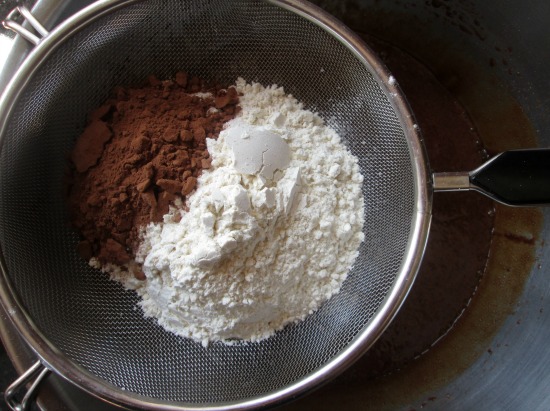
Preheat the oven to 250°C/400°F. Combine butter, sugar and vanilla in a large bowl.

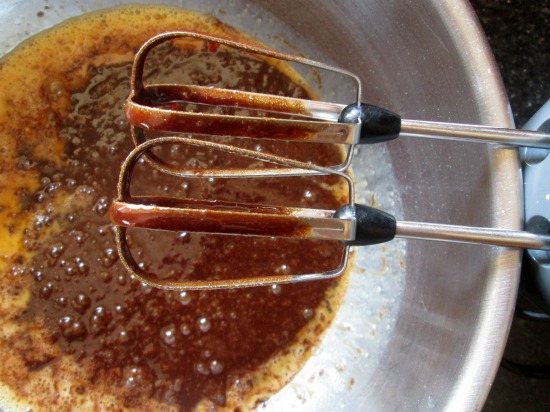
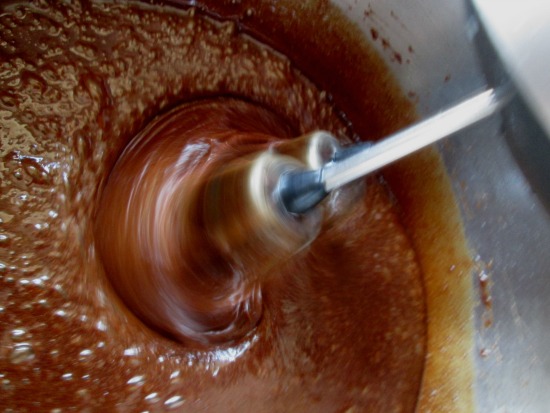
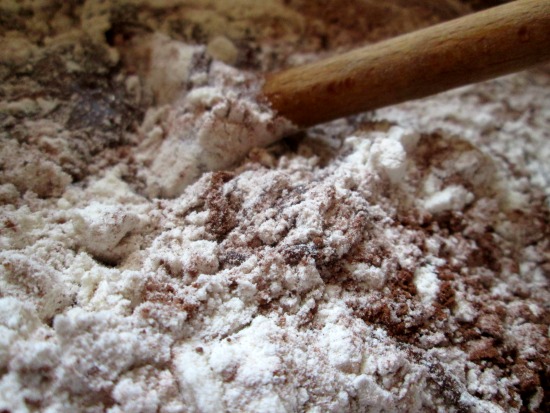
Add the flour and salt. Mix well until a crumbly dough forms.

Shape the dough into balls. Place the dough balls on a cookie sheet and bake for about 9 minutes until set (don’t let them brown 🙂 ).

Leave the cookies to cool slightly, then roll them in icing sugar while they’re still warm. Enjoy!

snowball mexican cookies 7b.jpg

signature

Sticky Syrup Bun Recipe

Heyhey


I hope you’ve all had a lovely week :). So based on the fact that my family have started arguing over whether or not we should turn the heating on, I think it’s safe to say that Autumn is officially here. And this could just be me,  but in my head Autumn has always been labelled the ‘lazy’ season. Like, if Autumn were a person I feel as if it would just stay home and watch Netflix while Summer, Winter and Spring were off at the gym, you know? Basically, Autumn is a seasonal representation of myself.

Naturally, this means that the next few weeks for me will just be a series of consecutive lazy days – (much like the majority of my life, but we can ignore that part).

Of course if you’re a true Master of the Art of Laziness like myself, you’ll know that a lazy day is incomplete without a deliciously autumnal snack to go with it (because there’s no use trying to master the lazy lifestyle if you’re not committing to an unhealthy diet as well 😉 ). These simple syrup cakes make a perfect, cosy sweet treat on a rainy day and only take a couple of minutes to make!

Let me know in the comments below what other fall recipes you guys want to see this month and make sure to like and share this post if you enjoyed it :). Also in case you guys missed my previous posts,  my 1 year blogiversary is coming up on the 26th of October and I’m trying to reach 3000 followers! If each of you could help me out and get one other person to subscribe to Artsy Teen I’d achieve my goal in no time!

Now without further ado, let’s get into this recipe…

signature


Ingredients  (Makes 20 Buns)

syrup-buns-5b

250g butter, softened

200g caster/granulated sugar

3 eggs

500g

300ml golden syrup, plus a few tbsp for drizzling on top of buns

50ml milk

Method

  1. Preheat oven to 180’C (350’F) and line  a muffin tray with 20 paper cases.
  2. Cream butter and sugar together, then beat in eggs.
  3. Warm the golden syrup in a microwave (or in a pan over a low heat) until it’s runny. Add to the mixture and beat well.
  4. Add the flour and milk. Mix until well combined.
  5. Spoon the mixture into paper cases and bake in the oven for  15-20 minutes (or until the cakes are golden and springy to the touch).
  6. Remove the buns from the oven and drizzle a teaspoonful of syrup onto each bun while they’re still hot.


FOLLOW ME ON SOCIAL MEDIA🙂
1456098962_twitter1on Twitter
1456098967_pintereston Pinterest
on Bloglovin’
on Instructables

Rich Chocolate Brownie Recipe

Every once in a while we all crave something rich, decadent and chocolatey (unless of course you’re allergic/don’t like chocolate, in which case you’re unfortunately missing out on one of the great joys of life). The summer holidays are a great time to bake a batch of brownies and share them with friends and family (or alternatively, enjoy them by yourself on the couch while watching your favourite TV show 😉 ). For years this has been my go-to brownie recipe and I’ve included step-by-step photos to make sure it’s really easy to follow. I thought this was the perfect thing to post on Father’s Day, since I’m absolutely certain that no Dad could resist freshly baked brownies. Let me know in the comments below what you guys like to bake/do during the holidays and if you found this recipe helpful!signature

k

k

Ingredients

brownies ingredients

100g/ 1/2 cup butter

175g/ 3/4 cup caster (granulated) sugar

175g / 1/2 cup dark muscovado sugar

125g dark chocolate

1 tbsp golden syrup

2 eggs

100g / 3/4 plain (all-purpose) flour

2 tsbp cocoa powder

1/2 tsp baking powder

Method

brownies 1

1. Gently heat butter, sugars, chocolate and golden syrup in a heavy based saucepan. Stir until mixture is smooth. Remove from the heat and leave to cool.

brownies 3

2. Beat together eggs, then whisk in the cooled chocolate mixture.

brownies 4c

brownies 4

3. Sieve together the flour, cocoa powder and baking sugar and fold into the egg and chocolate mixture.

brownies 5

brownies 6

4. Mix until ingredients are well combined.

brownies 7

5. Spoon the brownie mixture into a lightly greased cake tin and bake in a preheated oven at 180’C/350’F for approx. 30 minutes, or until the top is crisp and the edge of the brownie starts to shrink away from the tin.brownies 8

6. Technically, you’re supposed to leave the cake to cool before cutting it into squares to serve. However, seeing as you’ve put in all this hard work, I think its perfectly acceptable for the chef to try some while it’s still warm ;).

brownies 9


Simple Sponge Cake Recipe

hey

I haven’t posted a recipe in a while, but since I’m on holidays I finally got a chance to do some baking yesterday and take some half-decent pictures for you guys 🙂 . I make this simple vanilla sponge so often, it’s now become my signature cake and go-to recipe whenever I’m baking a dessert for guests. It’s light, moist and incredibly easy to make! Let me know in the comments below if you try this cake out, and what other recipes you’d like to see on Arsty Teen.signature


Ingredients

For the cake

  • 175g / 7/8 cup caster/granulated sugar
  • 175g/ 3/4 cup butter (softened)
  • 175g/ 1 1/2 self raising flour (sifted)
  • 3 eggs
  • 2 tsp vanilla essence

for the glaze

  • 280g/2 cups icing sugar
    (sifted)
  • 2 tbsp milk
  • 2 tsp vanilla essence

Method

  1. Preheat oven to 180’C (375’F) and line a 5 x 9 inch rectangular baking tin with parchment paper .
  2. In a large bowl, combine sugar, vanilla essence and butter.
  3. Beat in eggs, one at a time. Tip: To make sure the mixture doesn’t curdle, add one tablespoon of flour along with each egg.
  4. Mix in the rest of the sifted flour.
  5. Empty mixture into tin and bake for 35-40 minutes.
  6. When the cake is ready, remove from oven and leave to cool.
  7. While your cake is cooling, make the glaze. Combine the sifted icing sugar, milk and vanilla essence in a small bowl until the mixture is smooth and glossy.
  8. Pour the glaze over your cooled sponge and leave to dry.
  9. Enjoy!
Follow me
1456098962_twitter1on Twitter
1456098967_pintereston Pinterest
1458587945_instagram.pngon Instagram