Quick Carrot Cake Recipe

I’ve never been one to sleep in, mainly because my lack of social life ensures an early night. However, I’ve always enjoyed an extra hour or so in bed on Sundays, especially when on holidays. So it was a surprise when this morning I woke up unusually early to the sounds of what my sleep-deprived mind imagined to be a battle going on outside my bedroom. As it turns out, it was simply my younger siblings on an enthusiastic Easter egg hunt around my house, their chocolate-fueled excitement apparently making any kind of discretion at 7a.m. impossible.
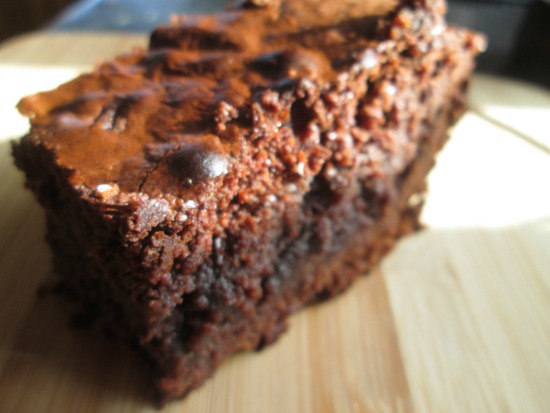
Luckily, one giant, mint-flavoured, gold foil-wrapped chocolate egg later, my abrupt awakening was forgotten and I officially switched over to Easter-celebration mode. I wanted to share this delicious carrot cake recipe with you guys today, because it’s such an Easter classic! The bright, colourful carrots combined with crunchy pecan nuts, flaky coconut and warm spices, make a perfect, aromatic batter. The moist cake is topped with a fluffy mascarpone icing that just brings it to the next level. I just barely managed to snap a few photographs of it, before my family promptly devoured it in seconds.
Make sure to let me know in the comments below what other posts you guys want to see this spring. Happy Easter! 
d


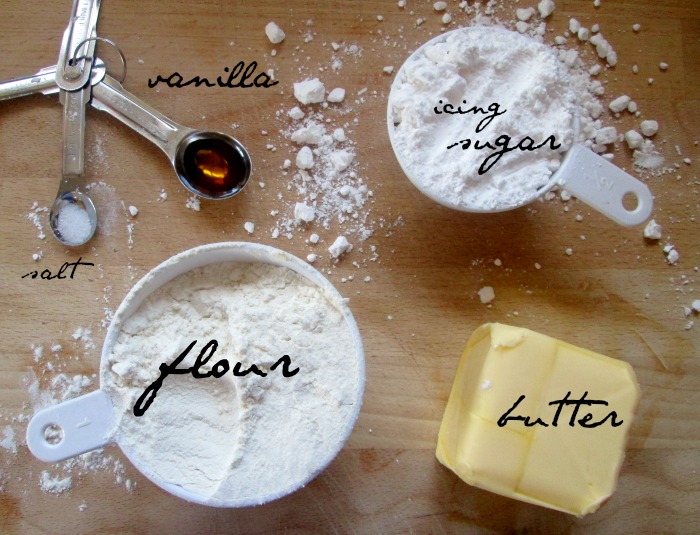
Ingredients
- Preheat the oven to 190’C (375’F). Grease and line a baking tin with baking parchment.
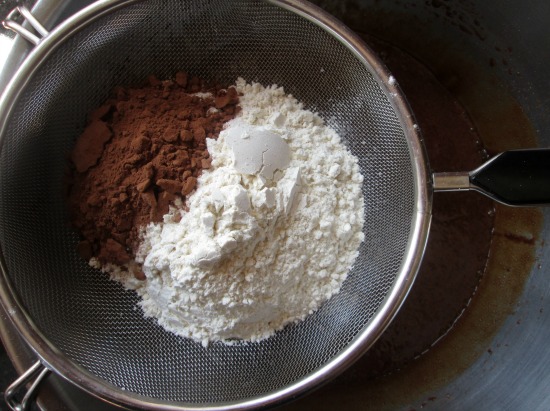
- Sift flour, spices and baking powder into a large bowl.
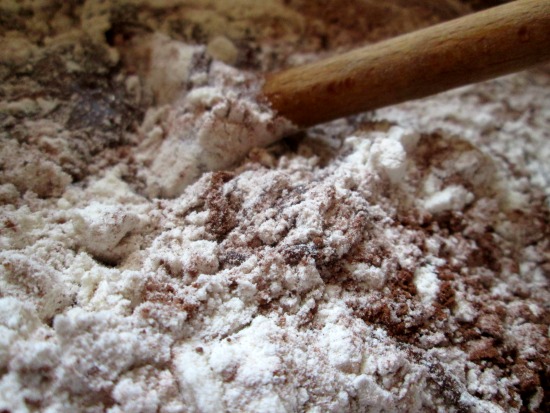
- Add pecans, coconut, sugar and carrots. Mix well.
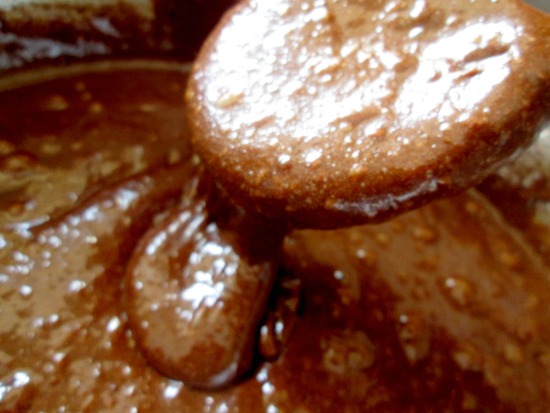
- Add eggs, orange juice and butter. Stir until well combined.
- Pour mixture into baking tin. Bake for 20-30 minutes.
- Leave to cool on a wire rack.
- For the icing, beat together mascarpone, icing sugar and vanilla extract until smooth.
- Spread the icing over the top of the cake and decorate with a few pecan nuts.